Soldering at the Makerspace

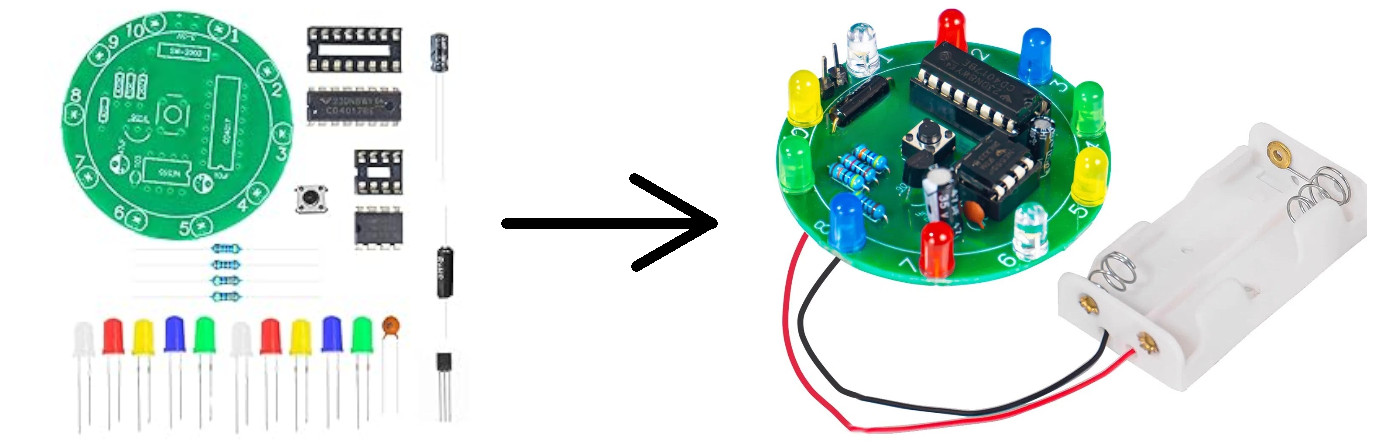
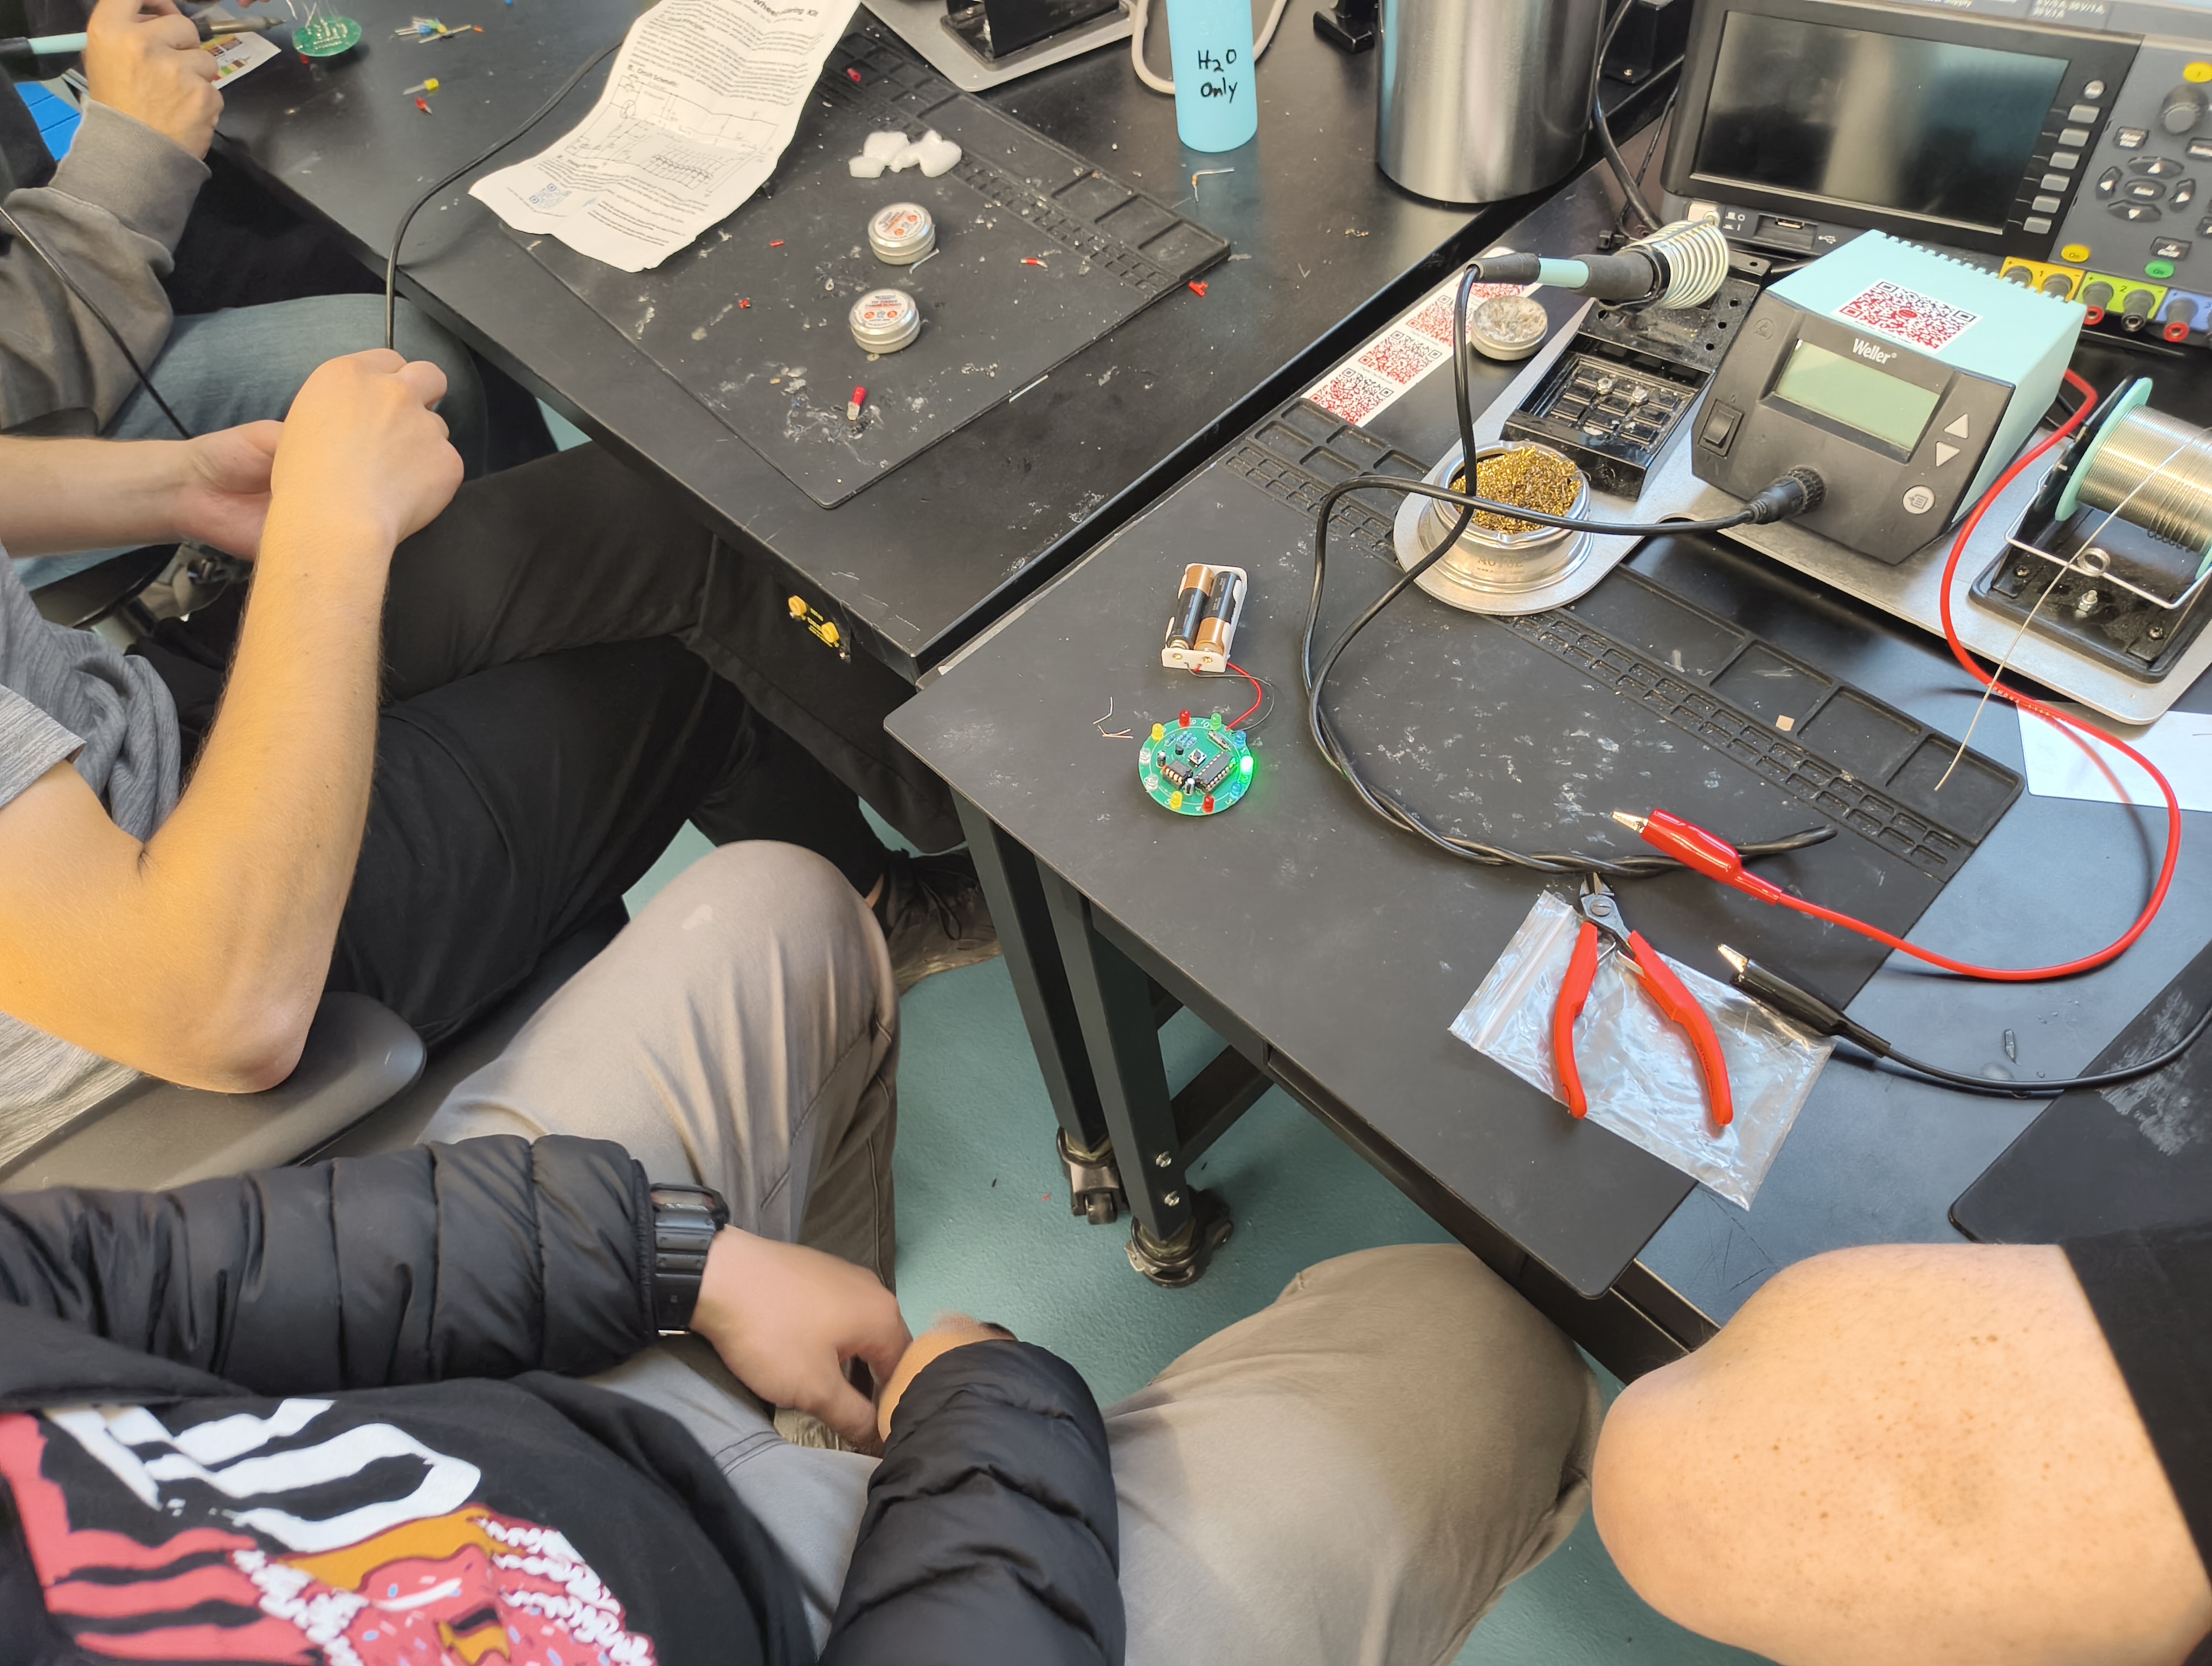
K2MFF took to the NJIT Makerspace to practice soldering before tackling some more complex projects. Members were built basic through-hole kits that simulate a spinning wheel that randomly stops. Press the button or jiggle the vibration switch and the lights start spinning. Where they stop, nobody knows!
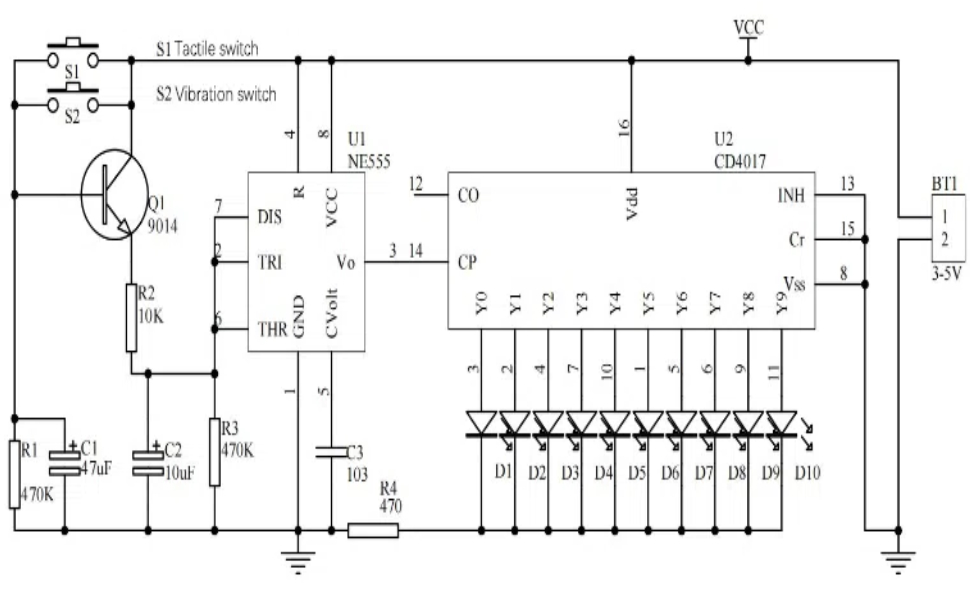
Here’s a description of the schematic from the included directions:
The circuit is primarily constructed using an NE555 and external components to form a multivibrator. When button S1 is pressed, Q1 conducts, and the NE555’s pin 3 pulses. These pulses drive the CD4017’s output pins to sequentially output high levels, lighting up 10 LEDs in rotation. Upon releasing the button, due to the presence of capacitor C1, Q1 does not immediately stop conducting. As C1 discharges, Q1’s conduction level gradually decreases, cuasing the output pulse frequency at pin 3 of the NE555 to slow down. Consequently, the LED cycling speed also decelerates. Once C1 is fully discharged, Q1 ceases conduction, the NE555’s pin 3 stops outputting pulses, and the LEDs freeze. Resistor R2 determines the base LED cycling speed, while capacitor C1 defines the “lottery draw” waiting time before shutdown.
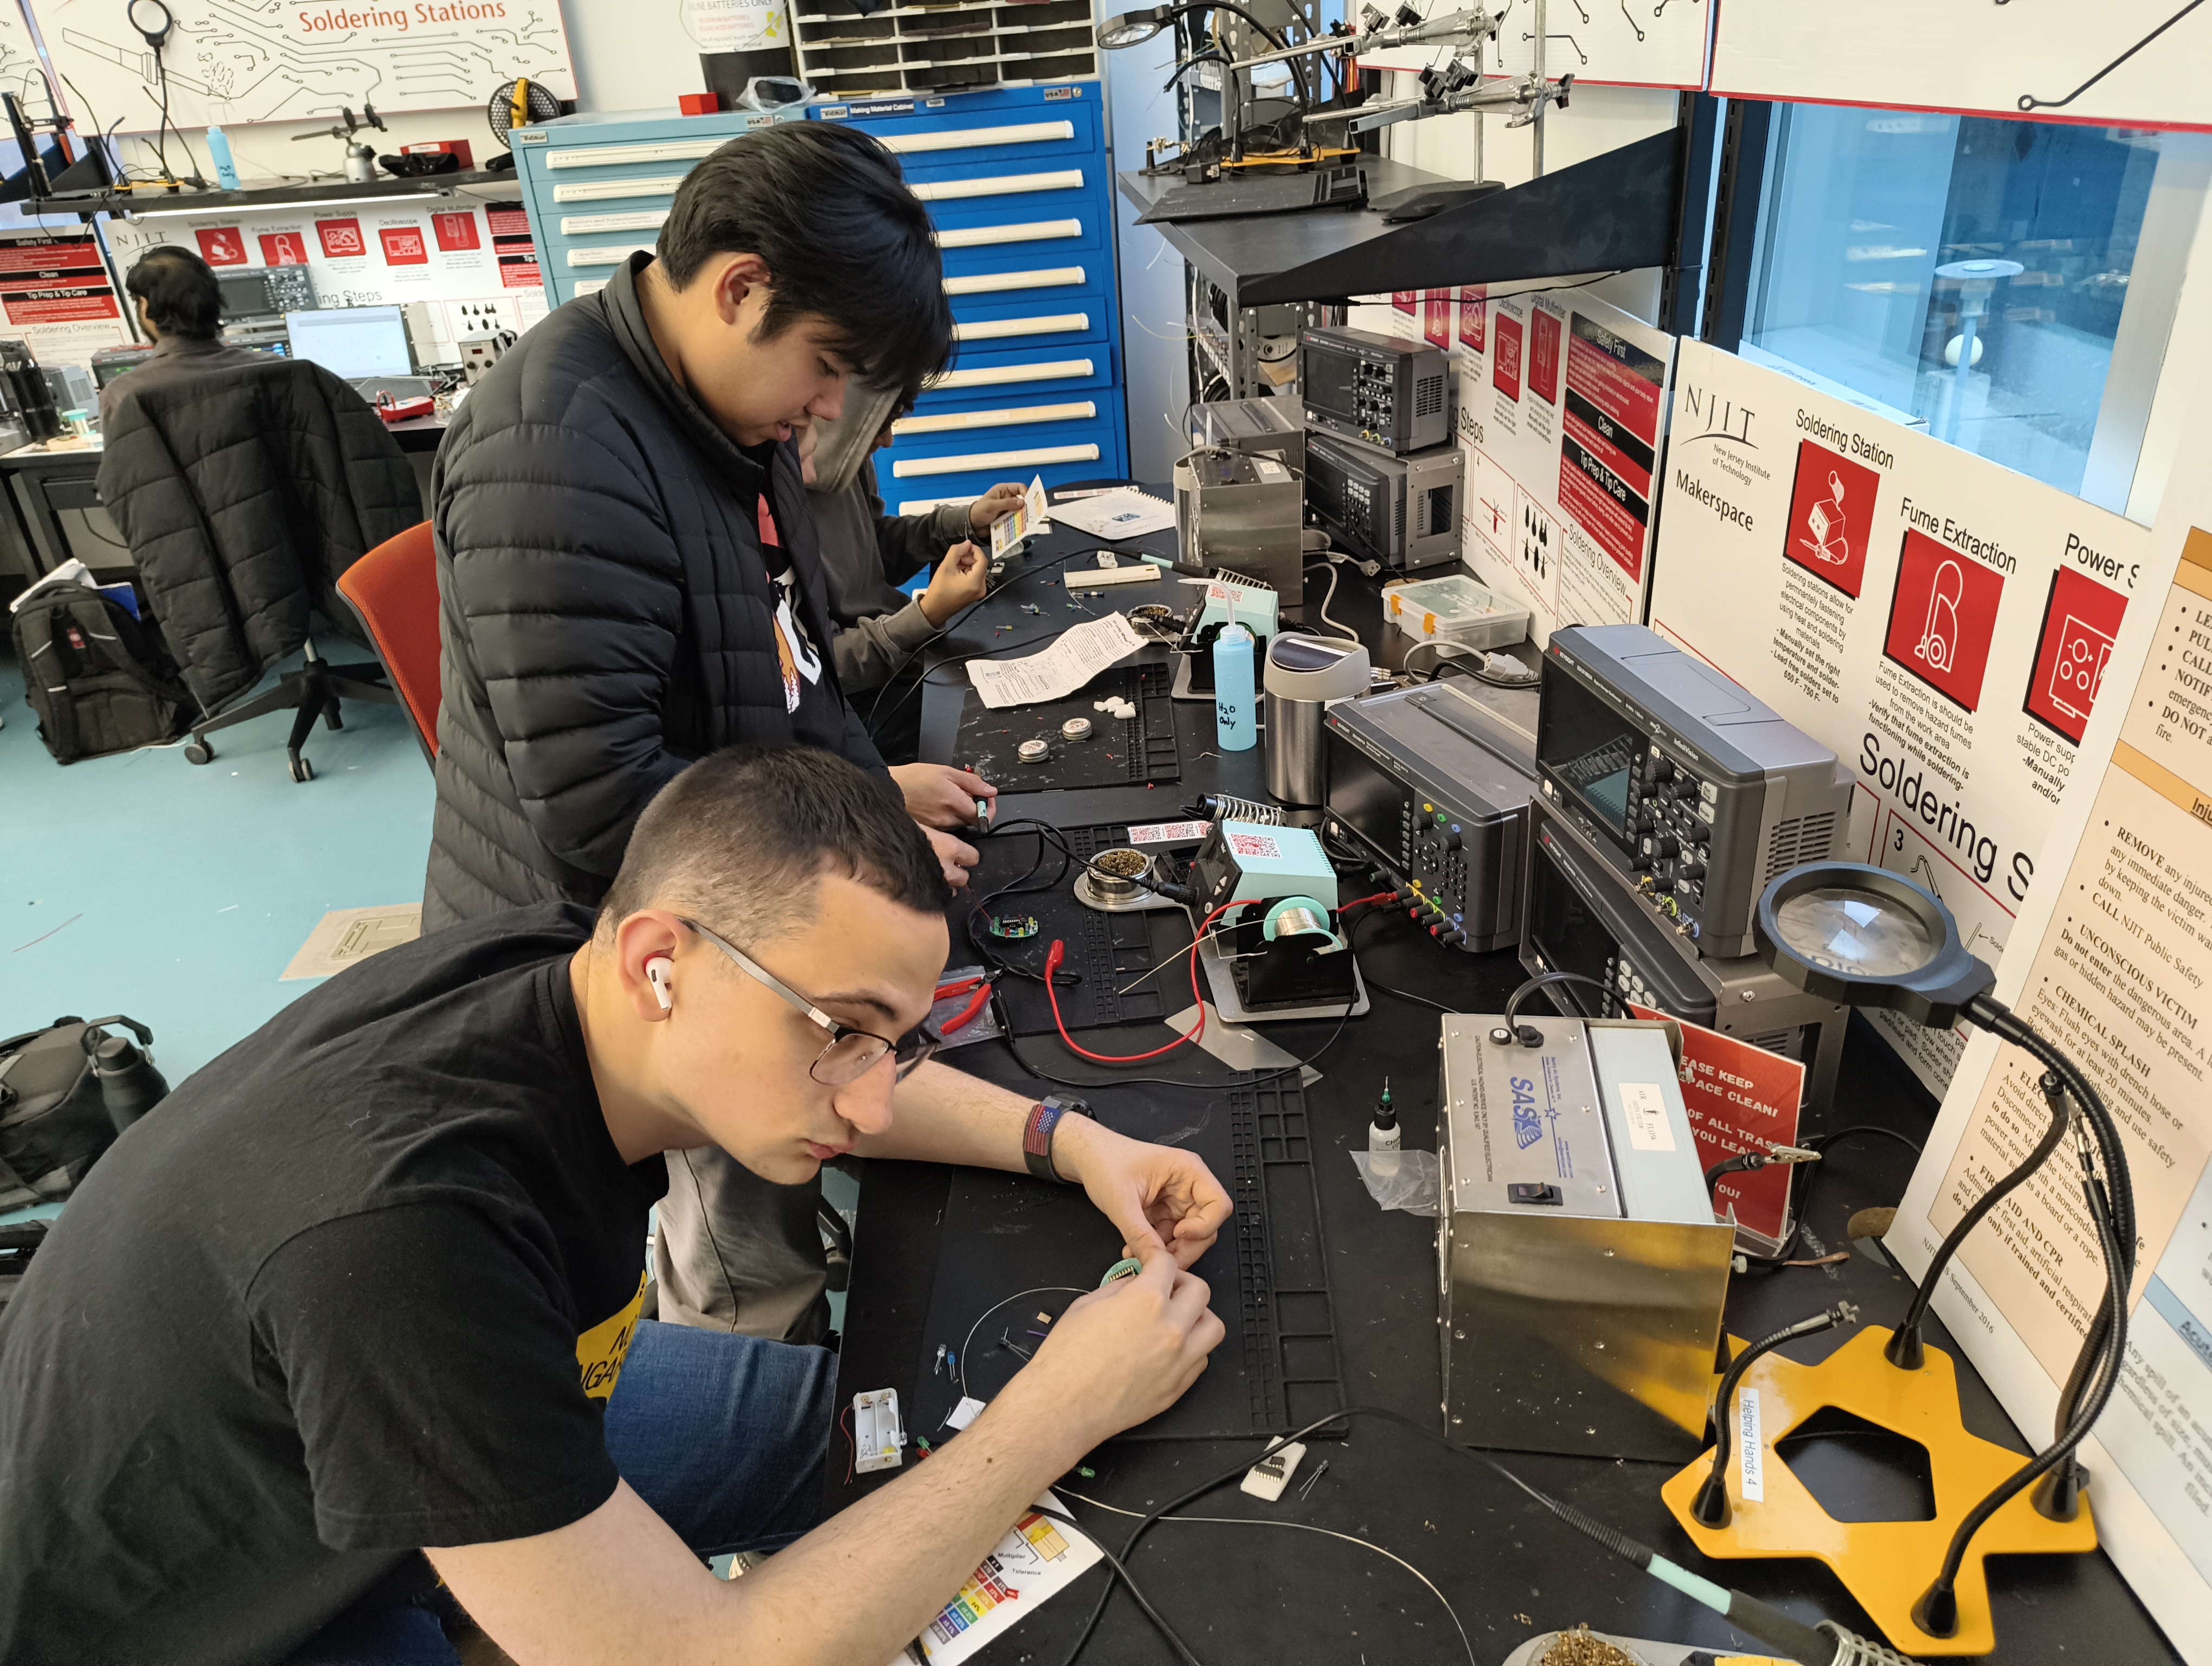
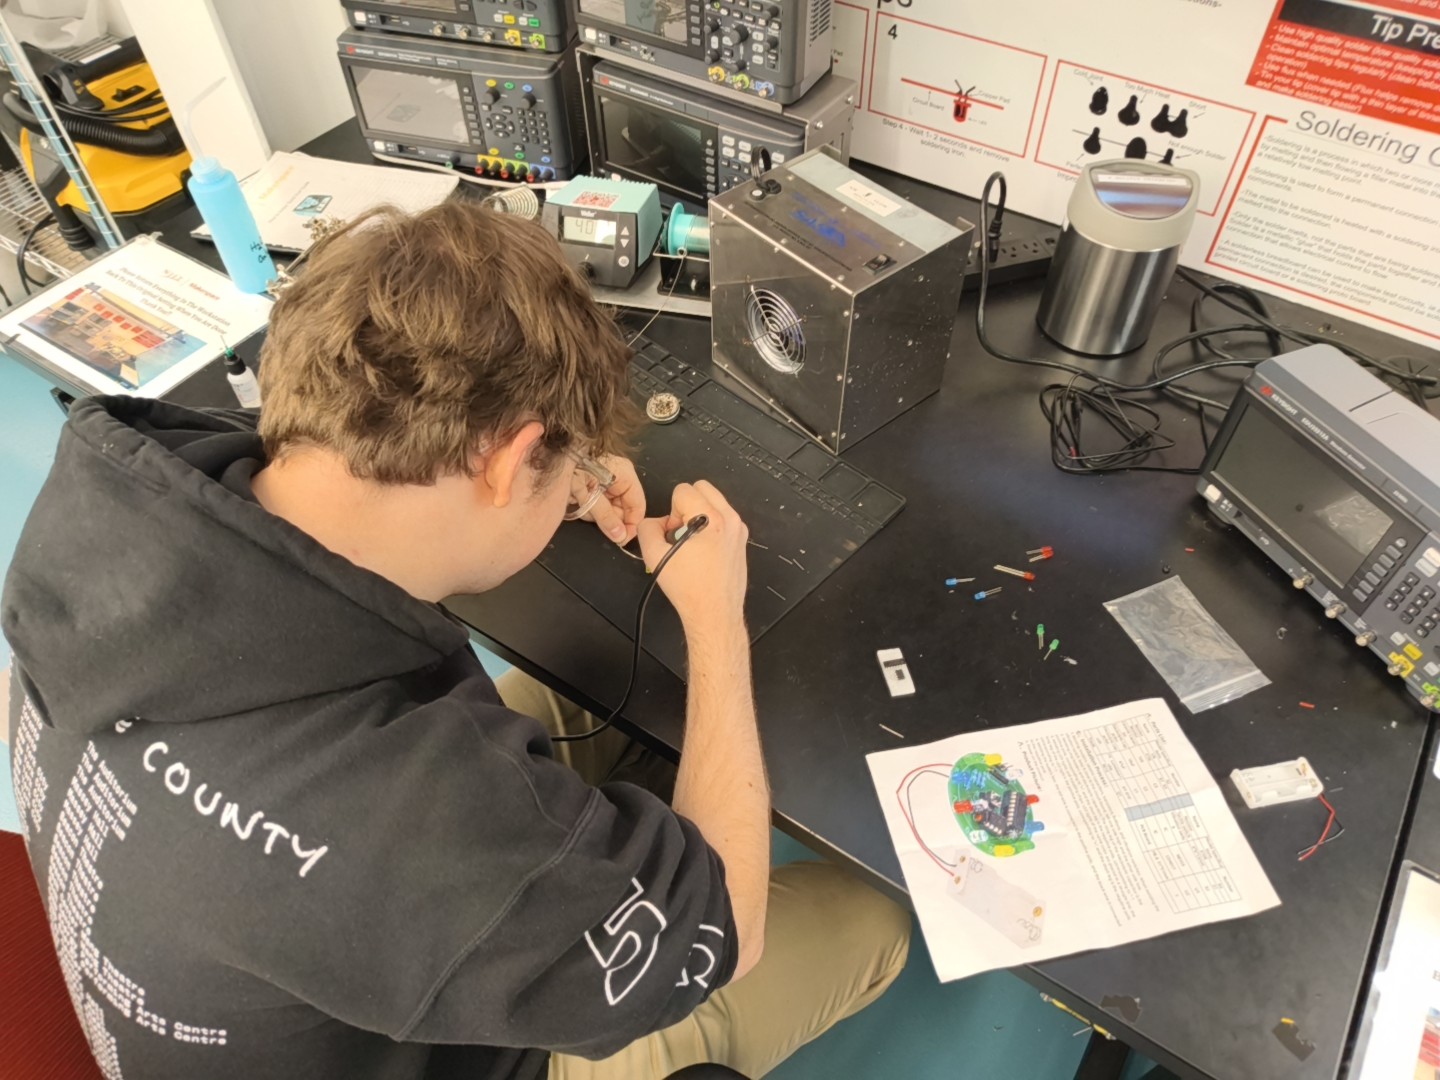
Mostly we were looking to get some practice soldering nice, big, through-hole components. To that end we were very successful! All four of the kits we built worked, nobody burned themselves, and everyone learned the importance of having a clean soldering tip.
Thanks to everyone who attended. Special thanks to Ethan Clarke AE2EC for dishing out wry soldering wisdom, turning off the multimeter so people had to use the resistor color codes, and scoping the RC circuit so we could see it pulse.